Progress!

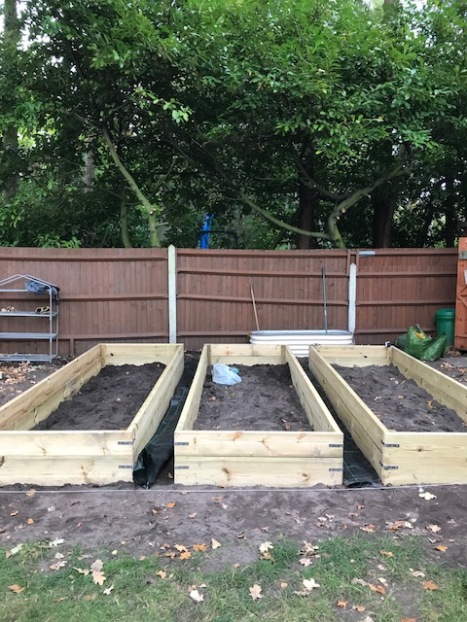
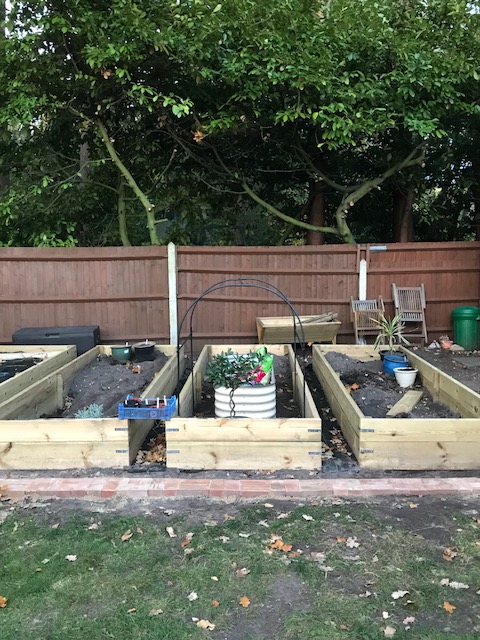
After the progress this weekend making the final raised bed we were keen to get started but the weather has had other ideas…yesterday was so lovely here and the sun was out all day so we made a start on the paths …


IMG_6032.JPG

I need something to create an ‘edge’ between the end of the lawn and beginning of the veg plot.  We used to have a metal edge that was buried in the ground but I wanted something to stand my herbs on (ahem…l already bought the gorgeous zinc buckets that i want to use…they were a bargain!)

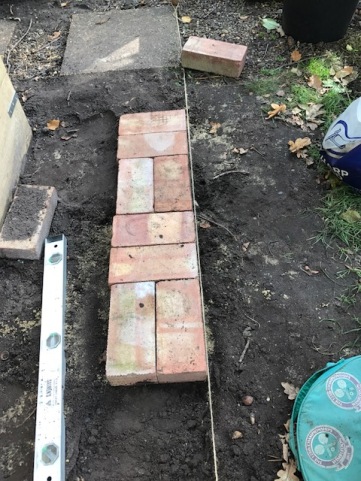
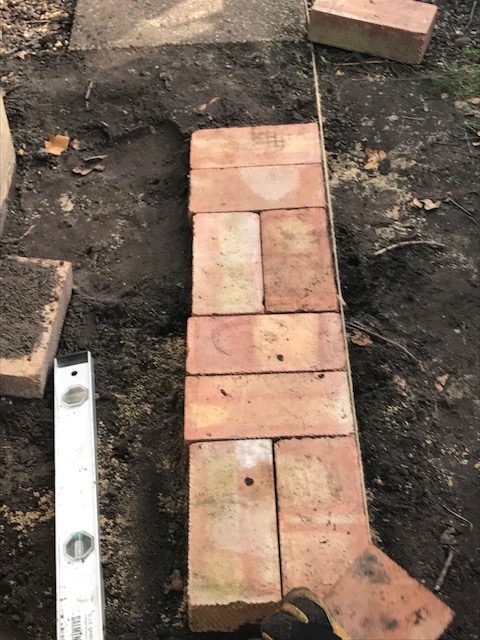
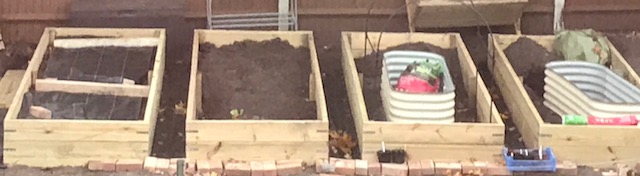
We have just finished a big build on our house and had a pile of bricks left over so i wanted to use those …these were London Brick Company ‘Rustic”…I went for a ‘basket weave’ pattern…..I’ve got far too many gardening books and they give me too many ideas, but i like the simplicity of this one.

IMG_6034.JPG

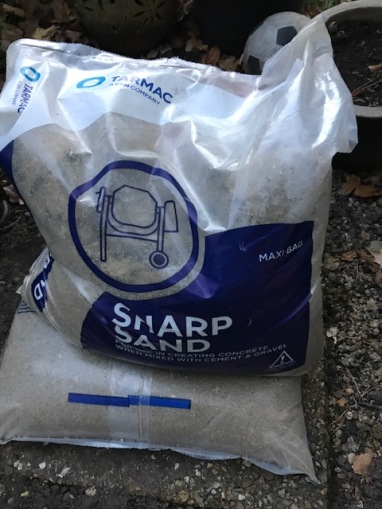
So again my husband was tasked with constructing said path.  We picked up some sharp sand and made a start. We levelled the soil in front of the beds, leaving around 30cm from the front of the beds as once everything is growing the veg with spill over the side (well….i HOPE!)

We laid the bricks on a bed of sharp sand as I didn’t want to bed them into concrete…never know…I may change my mind (I will keep that to myself for the meantime)

IMG_6042

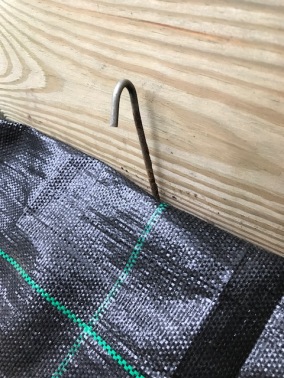
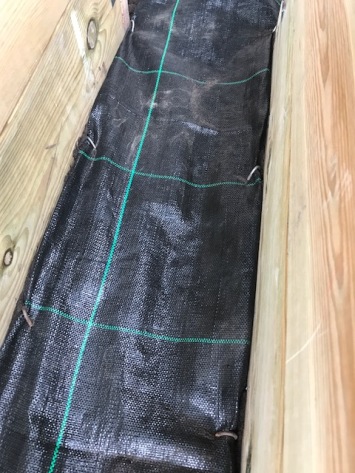
I will pop down some weed membrane and cover it with some pea shingle/gravel.  I had thought about using bark chips  but we have a few trees around and I want something that I can use my hand held blower on to keep the paths clear without blowing away the mulch !

We were about twelve bricks short…(have i said i don’t do detail before) so my lovely husband went out and bought a few more to finish the job…he’s got the patience of a saint!

When all the bricks were laid we brushed sharp sand over the bricks and I think it looks fantastic! Its really starting to take shape!IMG_6035

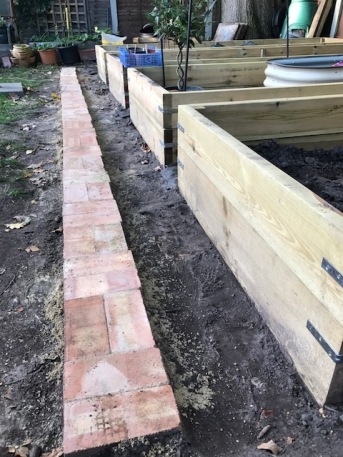
All in all the path took about 5 hours (including the dash out to get more bricks

IMG_6041.JPGWhile he was busy with the path I have made a start on emptying some existing flower beds and re shaping…but that is a tale for later this week!

Thanks for reading

C x

And then there was four!

Well after a stop/start week weather wise we finally managed to get the forth raised bed made.

Its been topped up with top soil and rotted stable manure and i’ve popped in some of my onions and some broad beans to overwinter in the first bed. I have never overwintered broad beans so let’s see how that works out!


FullSizeRender.jpg

Ive then covered the rest of bed one with a weed suppressing fabric because as I have improved the soil the weeds will soon grow over the beds.  I have a compost delivery coming this week from a local company so I will top up the other beds and cover and let nature work its magic until its time to plant out…just need to get through Winter!

IMG_5988.JPG


I think there is just as much growing space as my allotment..well with the raised beds and the planters plus my large tubs that I am planning to grow soft fruit it I think I can grow as much as I have done at the allotment …I am also hoping to have some baskets and planters attached to the back fence for some hanging basket friendly fruit and veg…saw a great blackberry and raspberry especially cultivated for hanging baskets.

I have a greenhouse which is currently being used as a shed ! Its become a real dumping ground for the garden bits and pieces so this week I want to get that sorted out so I can start using it properly.

The picture below is before……

IMG_5977.JPG
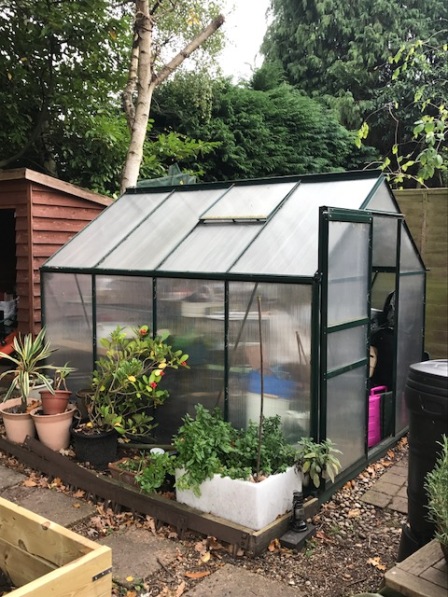
This weekend we have managed to clear up outside the greenhouse , tidy up all  the pots and trays as well as remove the old rotten raised bed and replace with a fabulous tin planter alongside my old utility room sink that I currently use as my herb garden.

And after…..

IMG_6019.JPG

Im really pleased with the progress so far….inside to be sorted out later this week.

Thanks for reading

C

Busy Weekend!

What a rewarding weekend!

The weather was unseasonably warm and sunny for this time of year in the South East of the UK and in between the boys sports fixtures we really managed to crack on with the home veggie patch.

Although i want an “allotment” feel I really don’t want a copy of what I have at the plot..it’s really taking shape.

We managed to get another raised bed made and while hubby was sawing and drilling i managed to line the paths in between the beds we’ve already made.

IMG_5936


I just skimmed off the top layer of soil ( straight into the new beds) and raked it over while getting rid of a few more dead roots from the old shrubs that were growing there, then raked over the path…I had measured the width of the paths so my rake fits perfectly in the gap (i’ve made that mistake before of not giving myself enough room to move down the paths and was determined to get it right this time)

Then I flattened the paths and laid down a weed membrane  (I buy mine from amazon ..its cheap and does a great job) then Ijust used some tent pegs to hold it in place and then once i have decided what i’m going to cover the paths with , gravel or bark chips, i can lay that on top!

IMG_5937.JPG
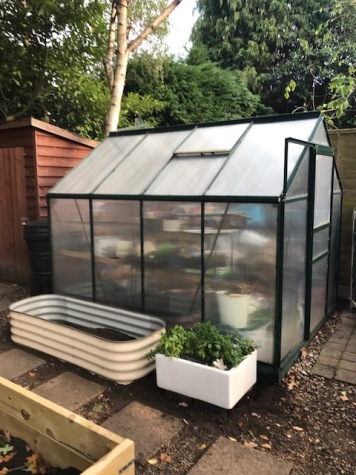
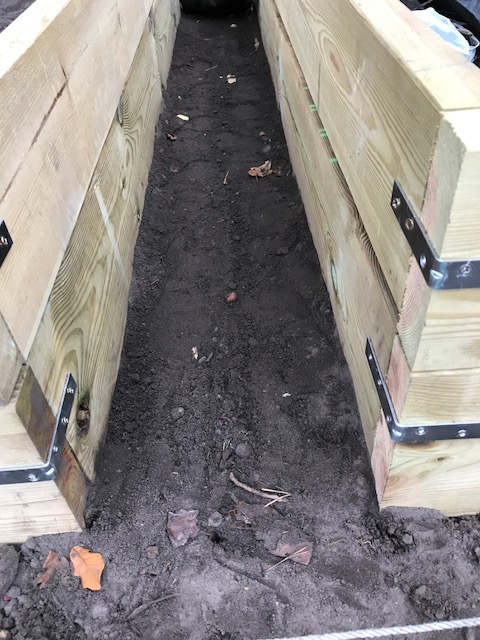
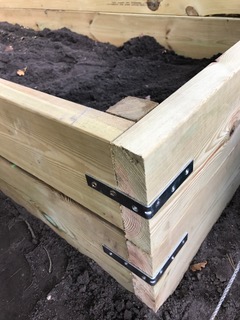
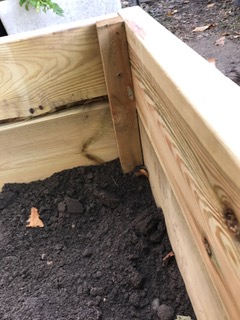
Ive also added another stake to the middle of the beds for stability as well.

So thats where we are now …three beds in, paths lined.  Im so happy with the overall look!IMG_5939.JPG

We just need to construct one more bed and then level the ground behind the beds…hoping to get cracking on that this week

IMG_5942.JPG

….will keep you updated.

Thanks for taking the time to read.

C x

TWO DOWN TWO TO GO!

Although I have an allotment at the moment I really can’t wait until that is just outside my back door so i can pop out and potter (weed and water!!)and I don’t have to pick a car boot load at a time!

I wanted double height beds for more the ‘look’ as they are at home in ‘full view’ if you like….slightly worried they may be ‘too deep’ but i’m sure they will be fine.

They are a simple double height frame made with treated wood from the local wood yard and simple metal fixings at the corners with stakes in the corners for stability.  Im really pleased with how they’ve turned out.

IMG_5929.jpeg

They were quite simple to build ( thanks to my husband’s patience and insistence we ‘do it right’) but making sure the beds were level took a little longer as the veg patch is not square.  The back fence is angled quite a bit and the difference between one end of the beds at one side of the plot to the other is around 70cm .

IMG_5930.jpeg

I am planning to put in some freestanding planters and house  my pop up greenhouse down there in the growing season so i’m sure i can fill that space and not make it look so noticeable.

Once the beds are done i’m planning to line the pathways with a weed membrane and then cover them with some landscape bark. I’ve allowed 30cm for the pathways as that what i have at the allotment at the moment and they seem to work fine and there is more than enough room to walk down and weed from the sides.

Ive also added a bought raised bed from Birdies….you can have them any  6 ways but i think the length suits the fence behind and i will attach trellis of some kind so i can grow vertically. I think there is enough room for another one along the other fence panel as well.

I am also on the look out for some unusual hooks to hang some hanging baskets on the back fence for some Tumbling Tomatoes as there is sun on that part of the garden for the whole day.

Two more to go…hoping to get cracking this weekend so then i can get them filled!


GARDEN TRAITS….

IMG_5909

I really don’t have a lot of patience and I really don’t like making a ‘plan’….not great traits for a gardener I know but I can ‘see’ what I want and how I want it to look in my head.

Also I spend far too much time looking on Pinterest and thinking ‘that looks easy’

With that in mind i’ve tried to describe to my husband what I want the veggie plot to look like and what I want to be able to grow..to his credit he totally understands what I mean and after twenty five plus years together he humours me and somehow does what I want.

We went to the wood yard last week and picked out the wood and fixings that WE wanted and that was delivered this week and we somehow managed in between torrential downpours to move it to the back..not easy when the house doesn’t have any side access!

IMG_5642

To show a ‘statement of intent’ I  have cleared the back plot and dug over the rock hard ground.  We had two huge Rhododendrons that whilst they were beautiful when they flowered for a couple of weeks they had grown so far forward searching for light that they took up so much space it wasted the whole back of the garden.

The plot is ready and i’m so excited to get started.

IMG_5660

I can fit in four beds.. approx 120cm wide and 360cm long as well as some other planters along the fence and some herbs in metal buckets.

Lets hope the weather plays ball this weekend and we can make a start!

Will keep you posted

C x

And So It Begins…


After starting an Instagram page back in April 2017 (with the advice of my son!) and to try and keep my love of growing my own alive I’ve decided to try my hand at writing a blog!

Nervous is not the word!  Will anyone want to hear the ramblings of a 45 year old late to the game gardener?

Here goes……I live in the SE of England and up until 5 years ago I wasn’t really ‘into’ my garden it was just nice to have a lawnwhere the boys could play and a few pretty flowers growing in the flowerbeds. We had lived in the Middle East for five years and there really wasn’t the opportunity to grow anything in the 40 degree heat other than a few aloe vera plants and some yukka plants. When we came back and everyone was settled I started to look for something that was for ‘me’ and that i enjoyed and that’s when I discovered my love of gardening and growing my own veg.

IMG_0824

I went on the waiting list for an allotment for a year and finally got a very weedy overgrown bindweed full plot that I painstakingly cleared (85 bags to the tip) and installed raised beds (thanks to my willing husband)  It was my first foray into growing my own veg and flowers and had great success (and some spectacular failures) and realised there was nothing better to clear my mind than pop down to the plot and potter around and then fill the car boot with fantastic organic home grown vegetables…potatoes, carrots, beetroot, beans, peas, mange tout,  brassicas, asparagus, spinach , chard and every squash you could think of alongside some fabulous flowers and herbs.

Time passed and the boys grew up and I had more time on my hands… we renovated the house and I found I had less time to ‘pop’ to the allotment as i was busy decorating the house (and supporting the boys school teams from the sidelines and general taxi driving mum duties) I grew some veg in pots and my greenhouse at home over the summer months with good results and then our next door neighbours cut down their 30ft conifer hedge and our garden was then flooded with beautiful sunshine…thats when an idea came to me …why not bring my allotment to my home?

That way i can ‘pop’ out to pick something for tea, watering would no longer be a car journey awayand i could keep on top of those pesky weeds.

So thats where i am now….

I’ve cleared the back of the garden, pruned trees, resurrected my compost bins, painted fences, dug up a million old tree roots and ordered some treated wood for my raised beds.

Im no expert but I love growing my own…this blog will follow the ups and downs …and my general ramblings…as I start my allotment at home. I hope you will come along on my journey with me.

Thank you for reading.

C  x


A link to my Instagram- My Instagram Page